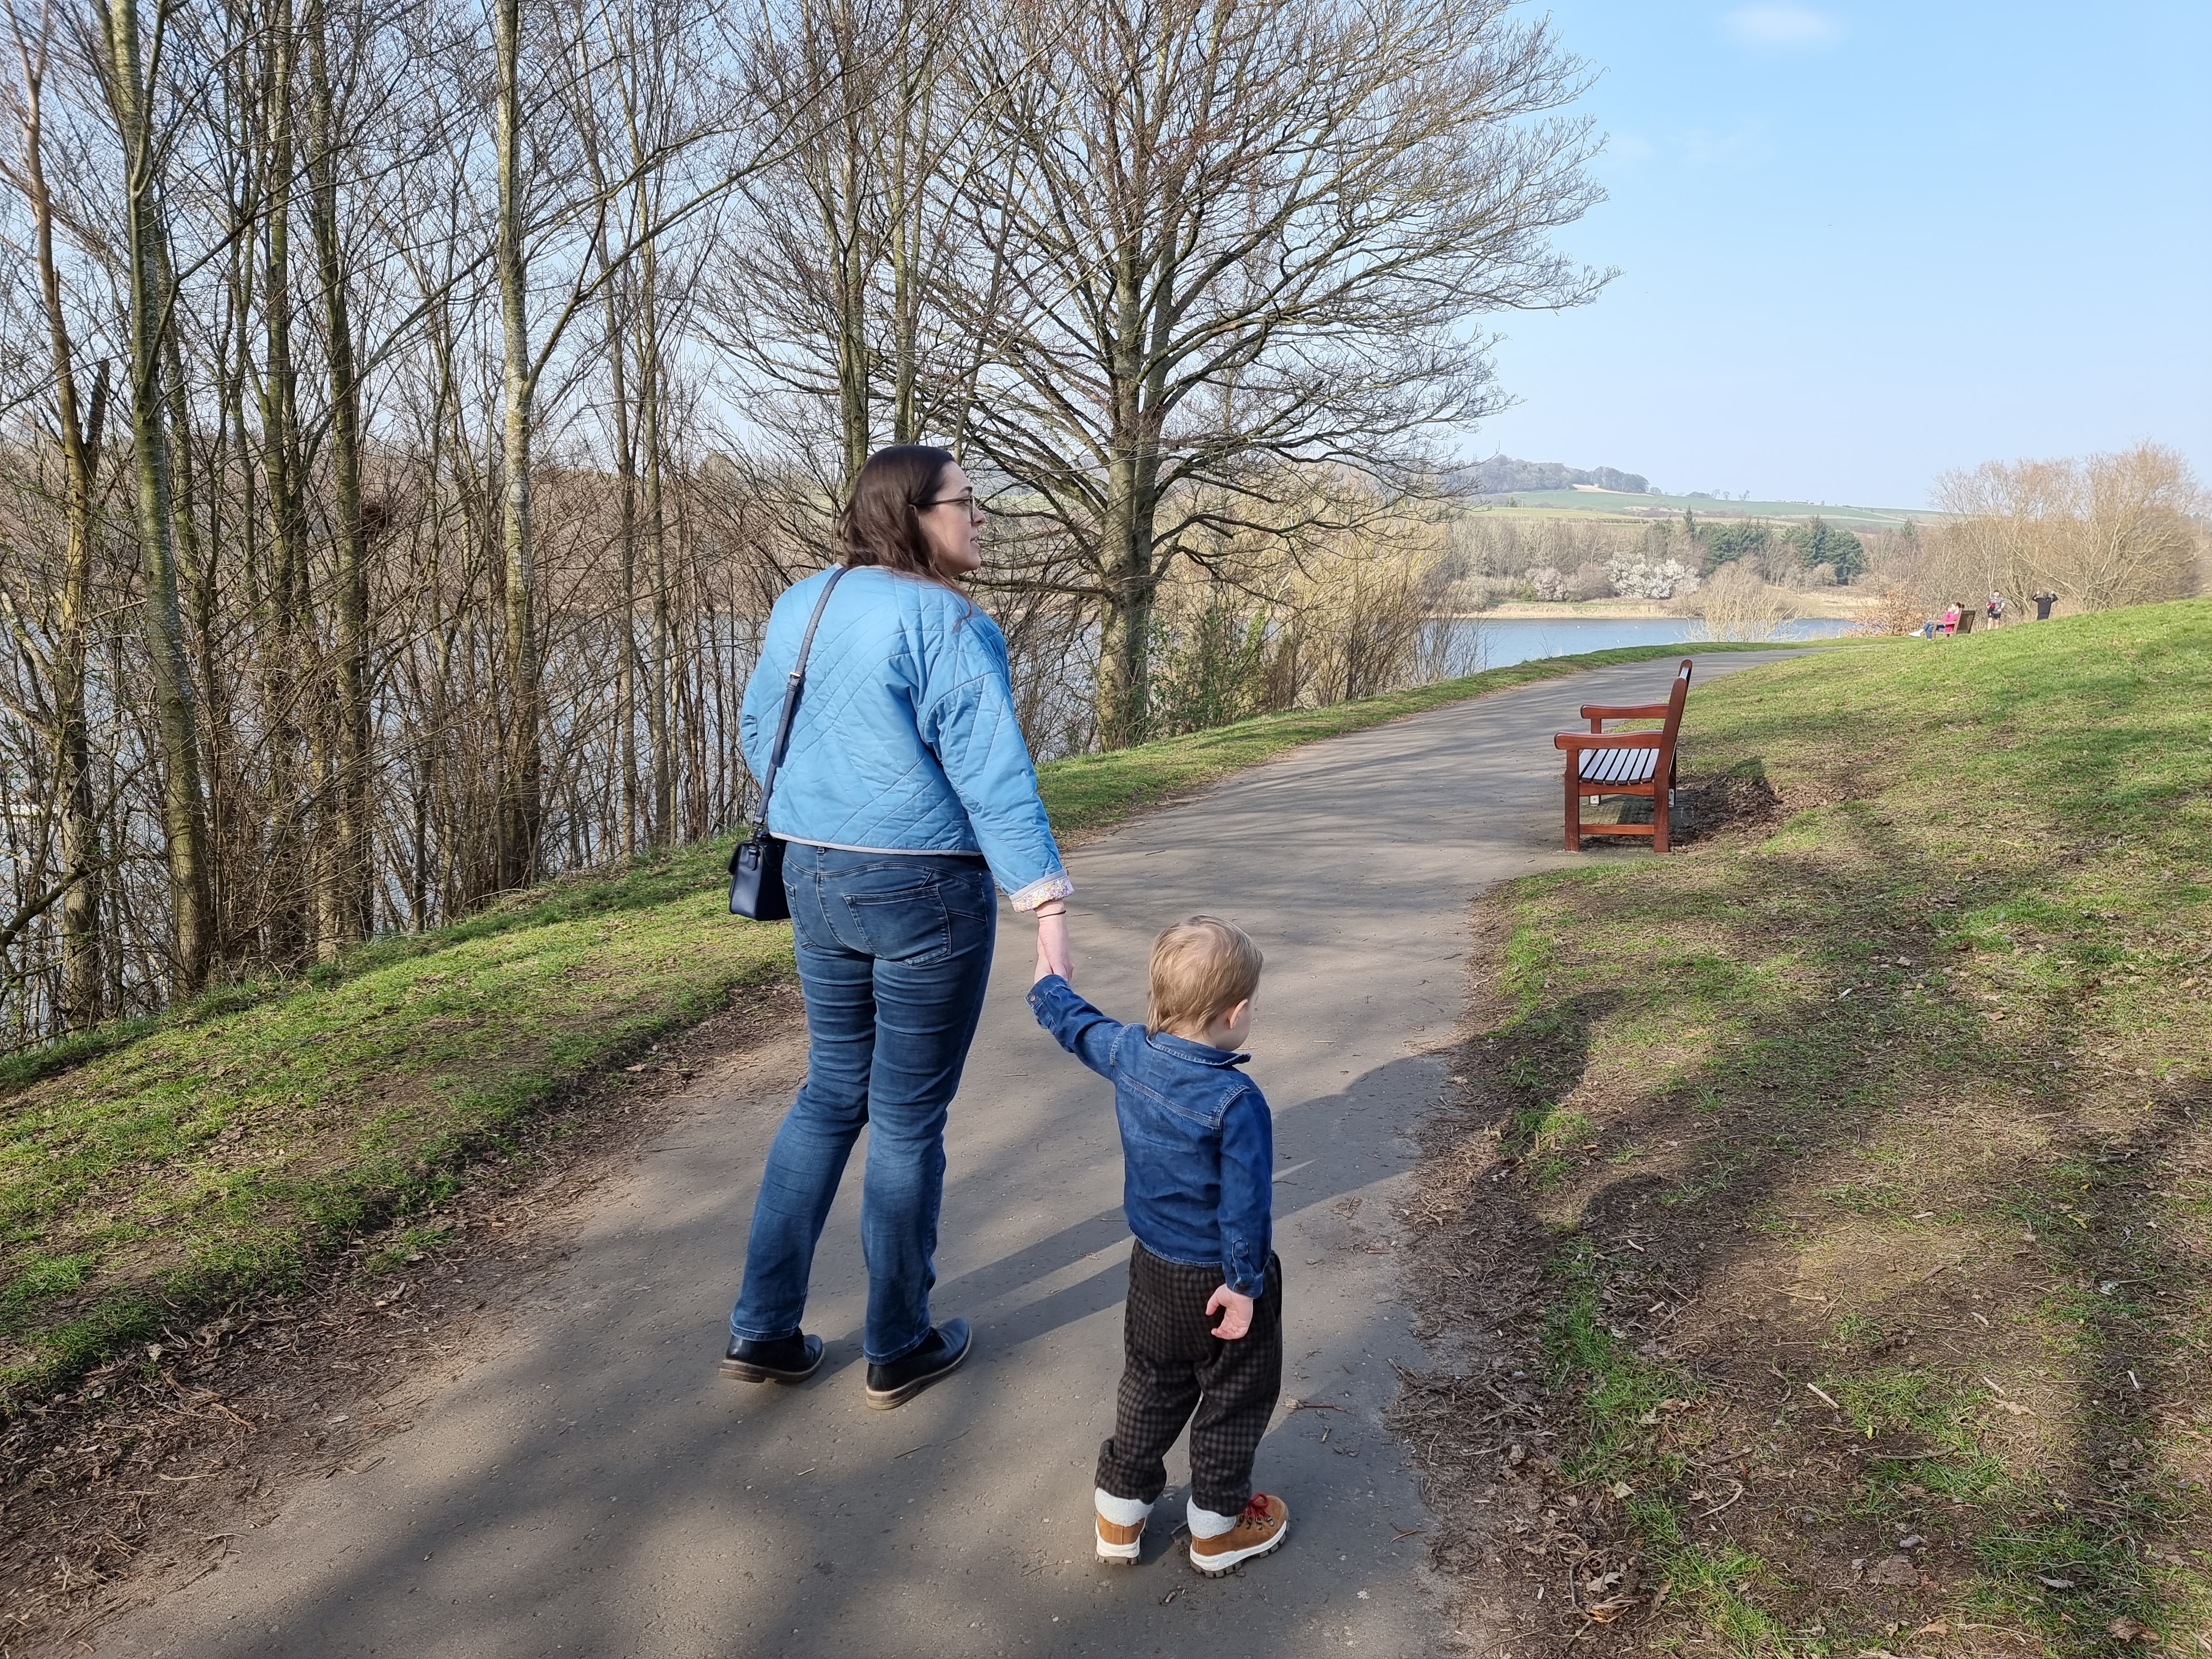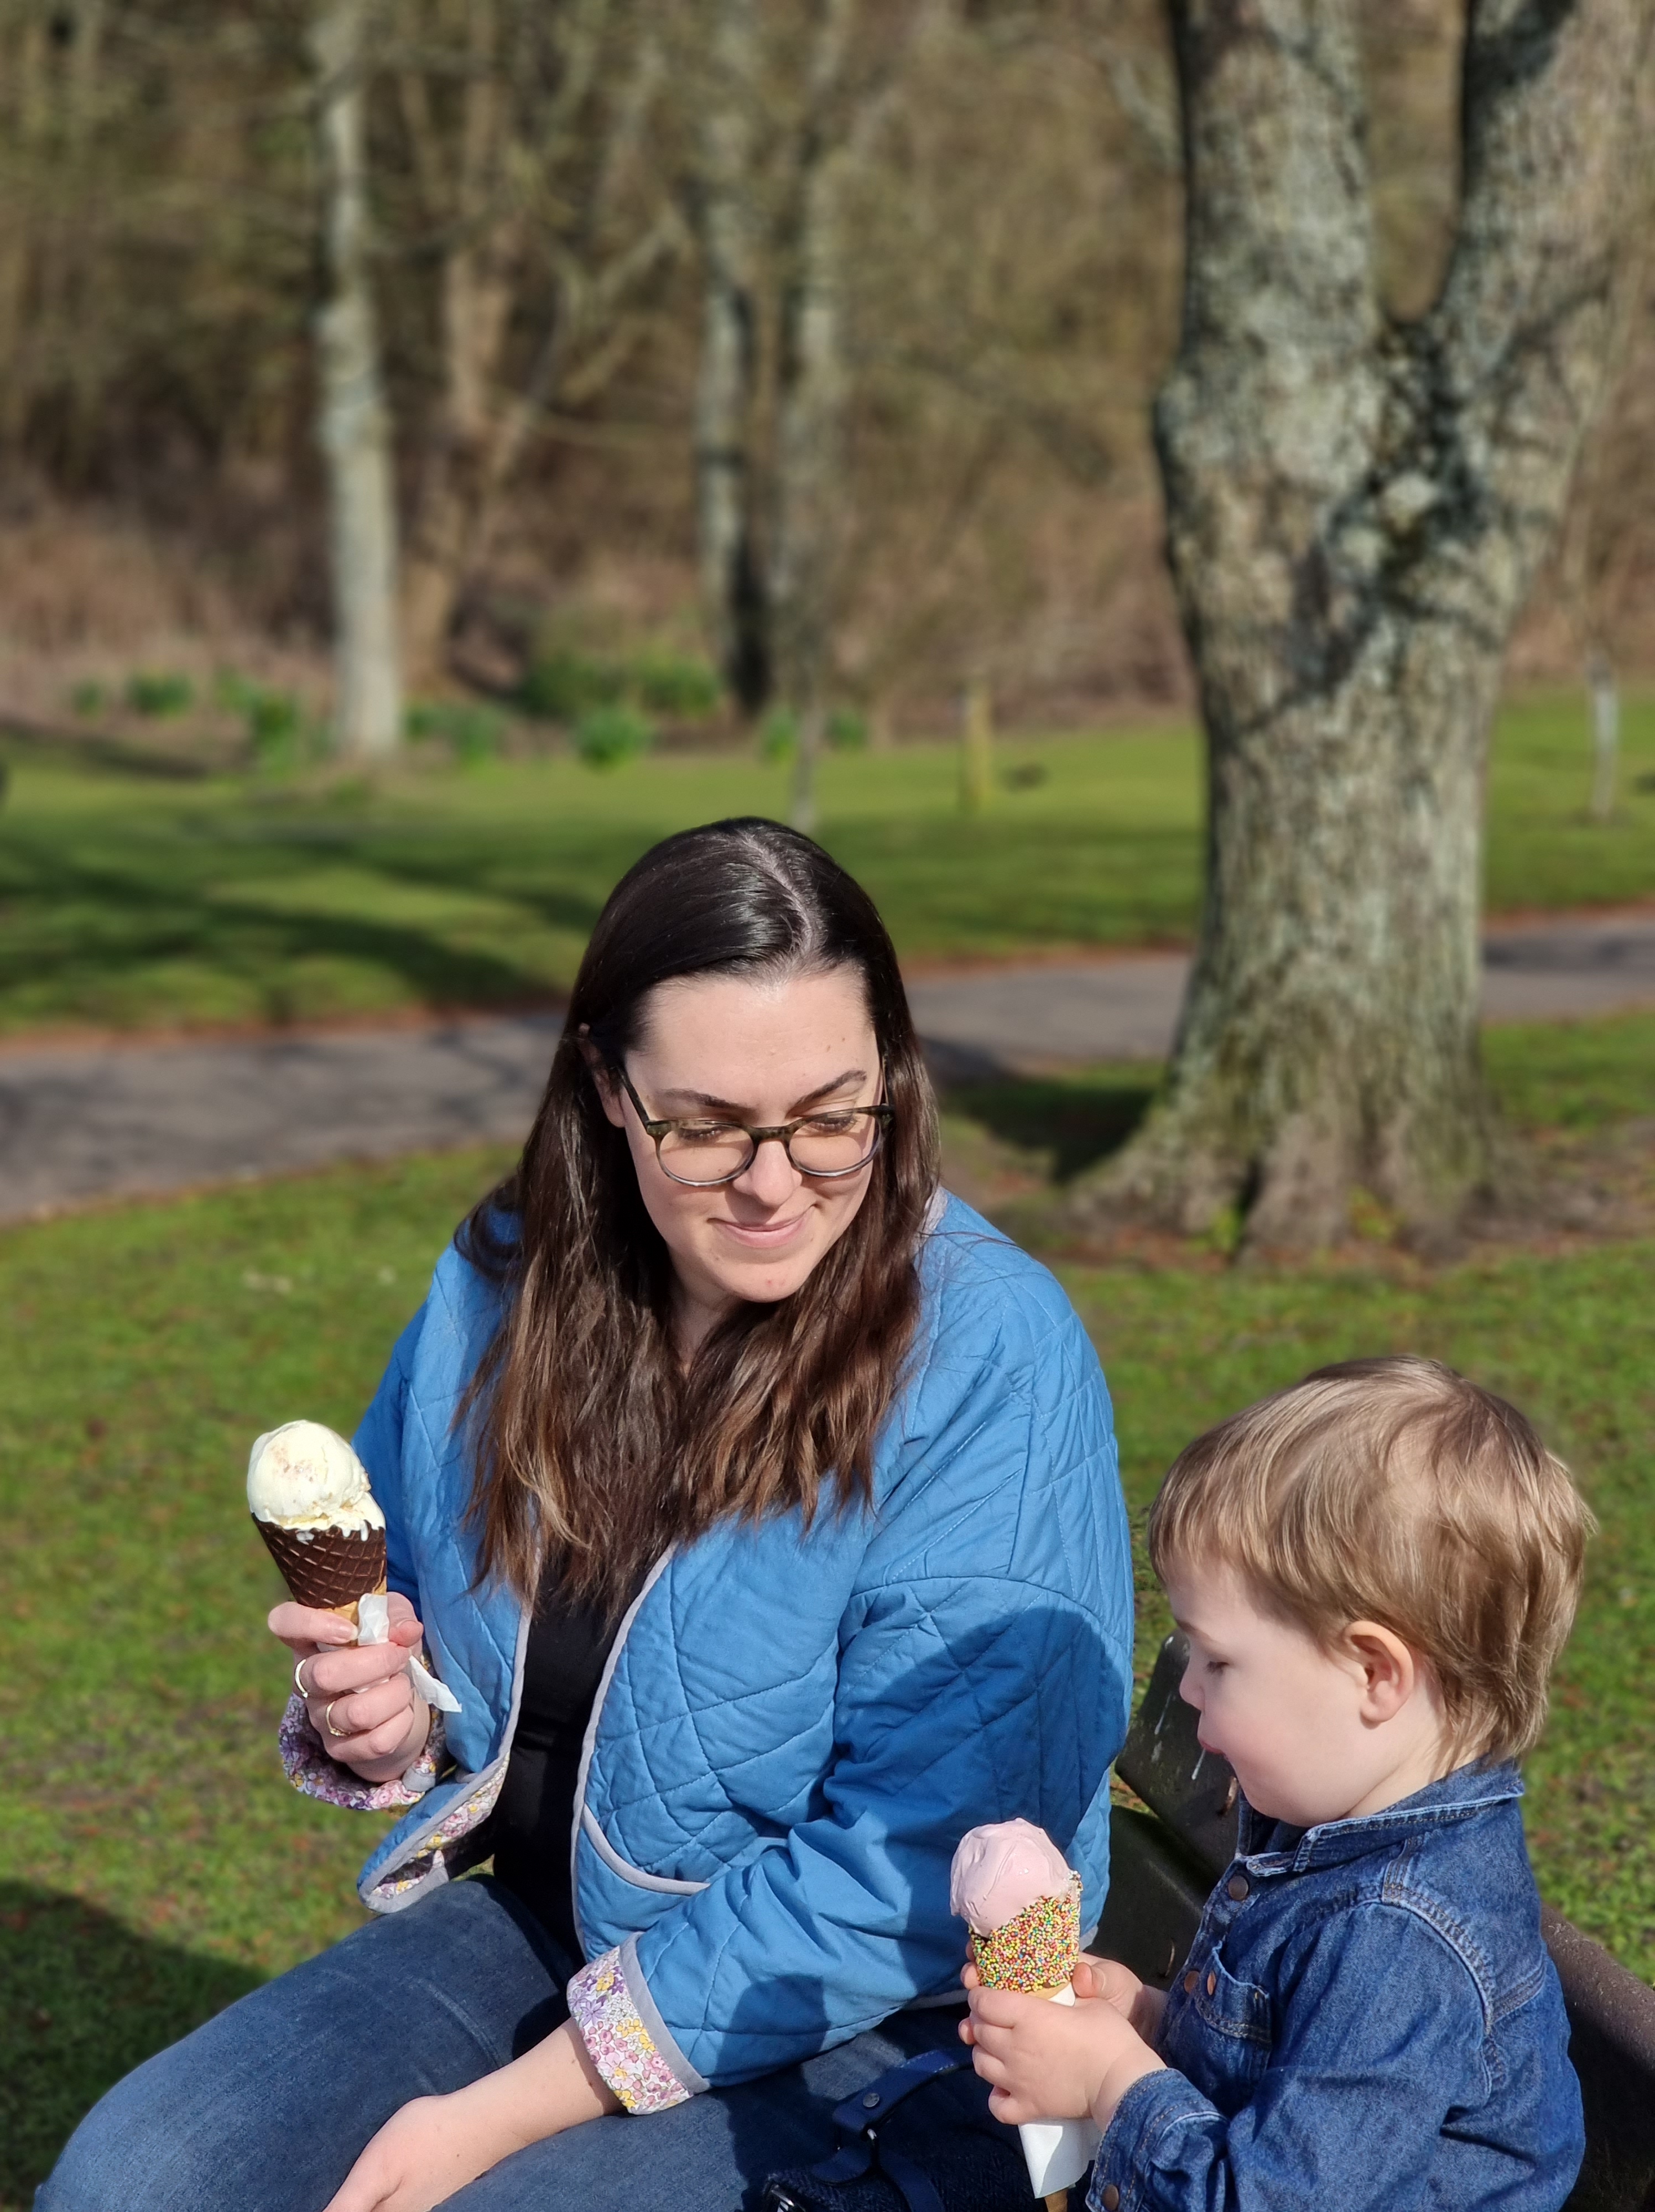
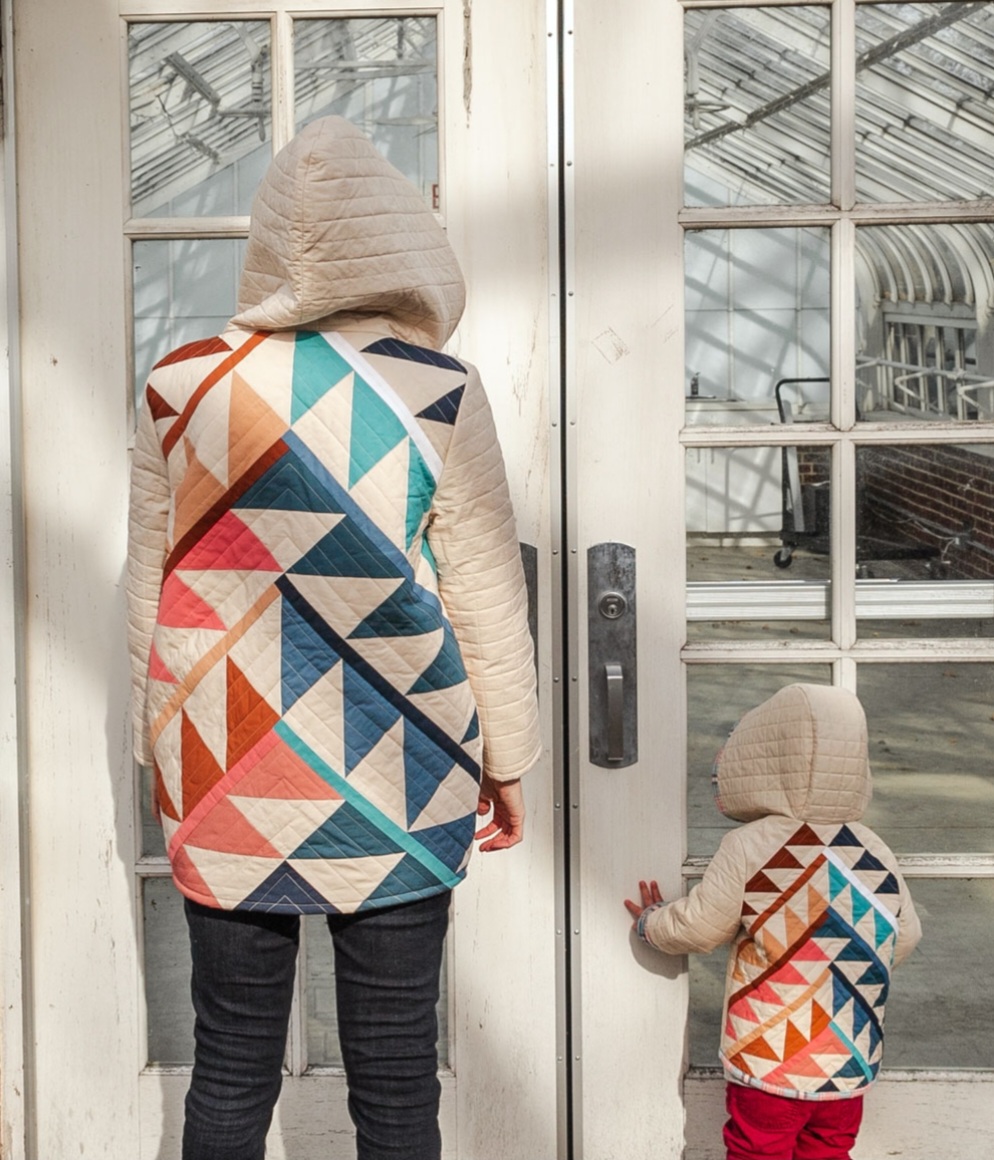
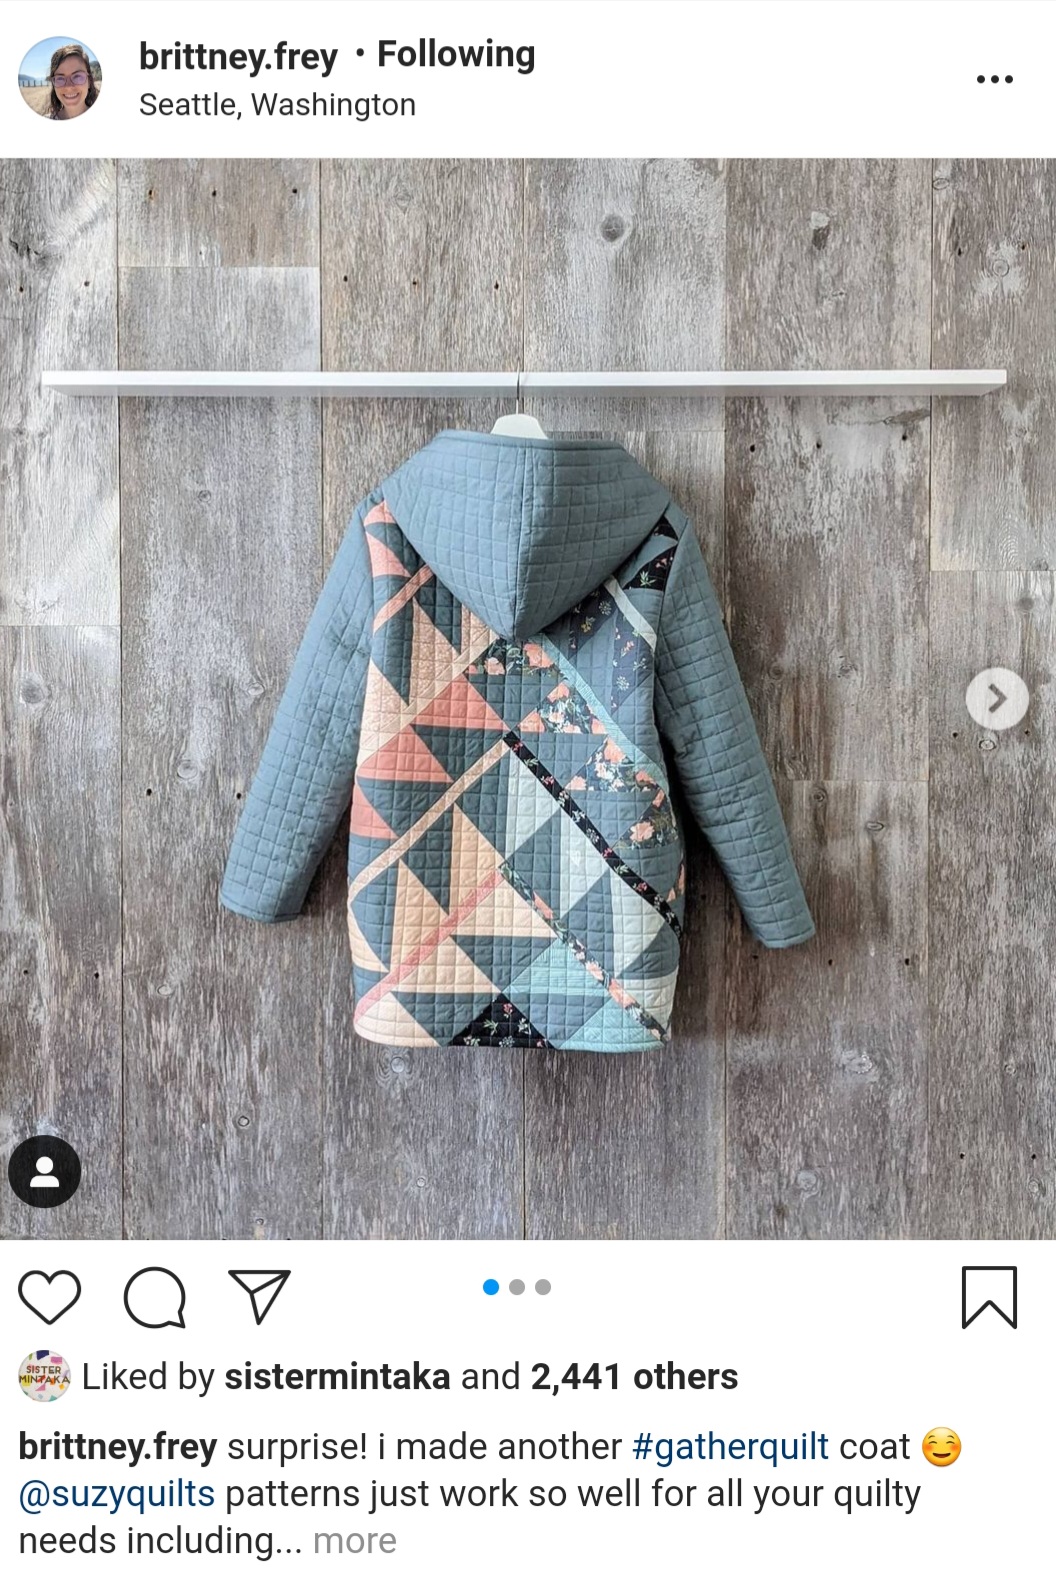
Last year i saw an amazing patchwork quilted coat on instagram and i had a closer look at the account (Brittney.Frey). There were loads of gorgeous designs and I discovered the creator had written a guest blog post on how to make your own. She has shared some of the quilt patterns she uses but self-drafted the pattern for the hooden coat which she sells as finished garments. After seeing this adorable mama, mini me combo, I convinced myself I could recreate our own and bought the quilt pattern and started searching for fabrics and similiar coat patterns….all despite having never quilted before…or made a item of clothing for myself.
I was keen to go for a coat with nice big pockets and not too fitted. I found the pattern was most similar to the Nova (Sapporo) with the exception of the hood which i wondered whether i’d be able to self draft or hack by combining a hood from another pattern.
I bought and pre-washed my chosen fabrics and set aside an old bed sheet to make a toile/practice run but it has all sat in a box since!
Then I saw a Quilted Jacket course by Sew Confident and i thought that might be a good opportunity to give quilting and making a jacket a go so i can get some practice in before having a go at the patchwork one!
The class used the Hovea pattern and, despite cutting the wrong pattern initially and not realising it was a 3 evening class (I didnt read the instructions clearly!), I was really happy with the class and the result.
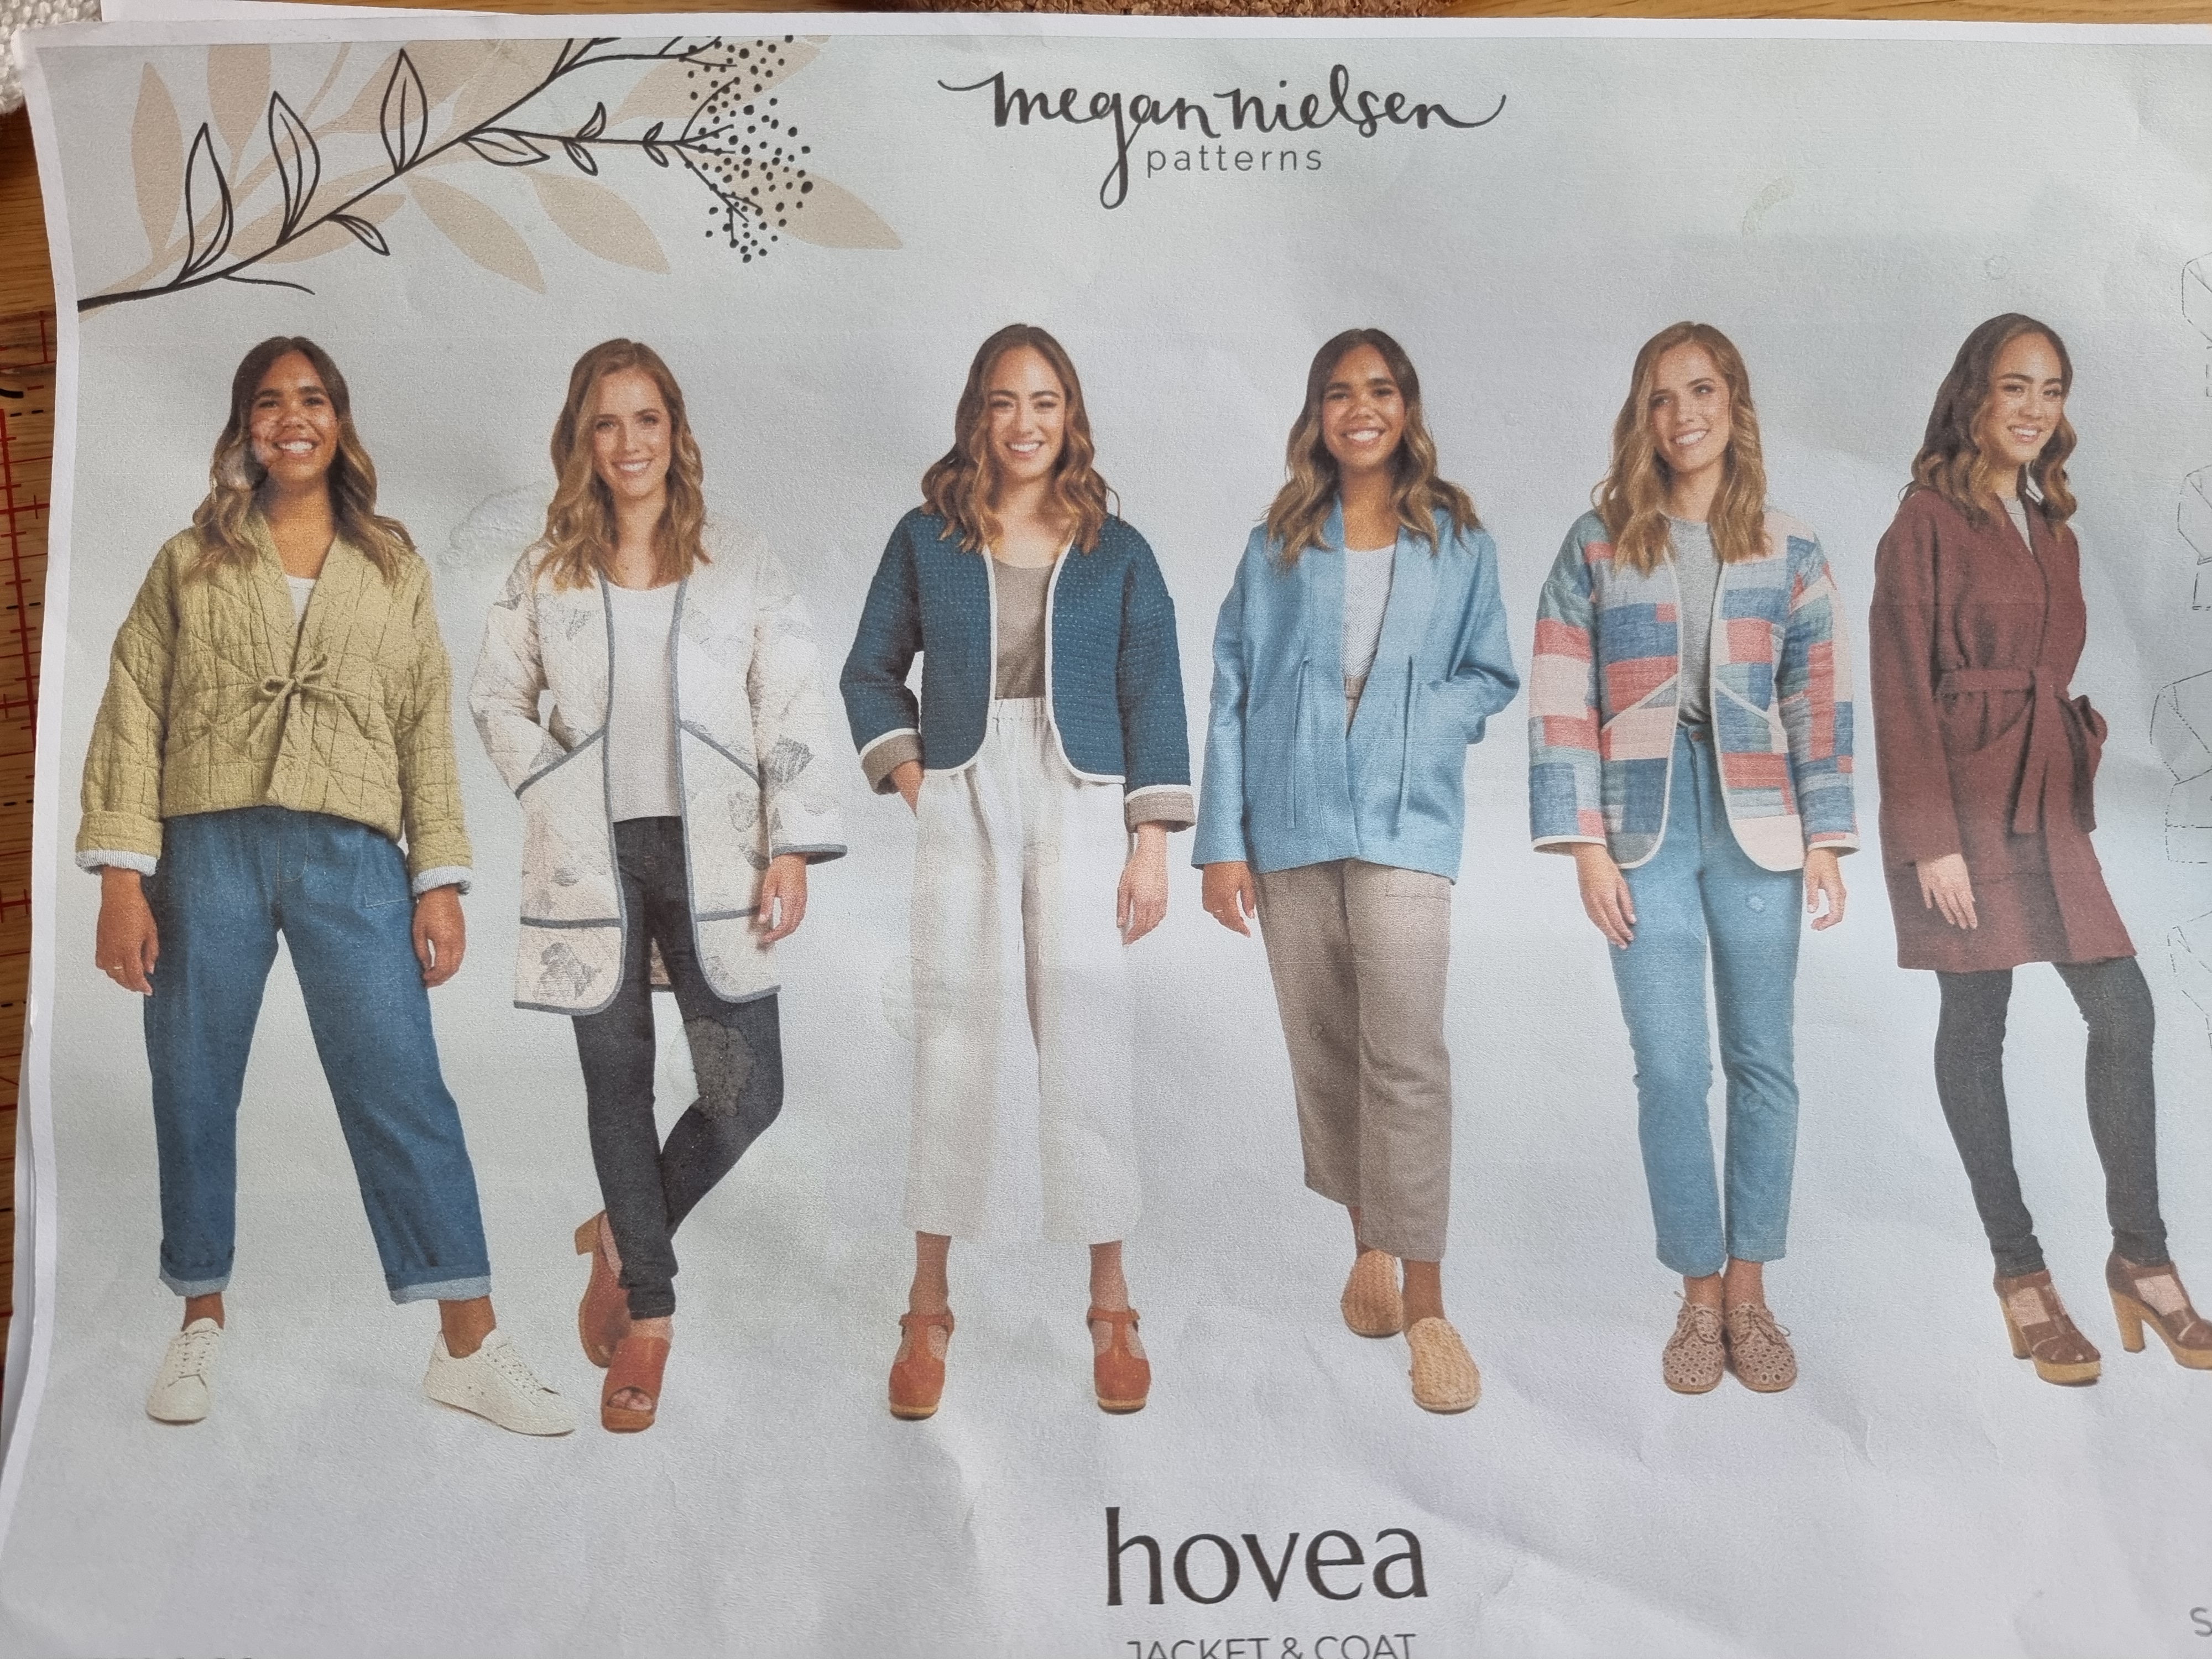
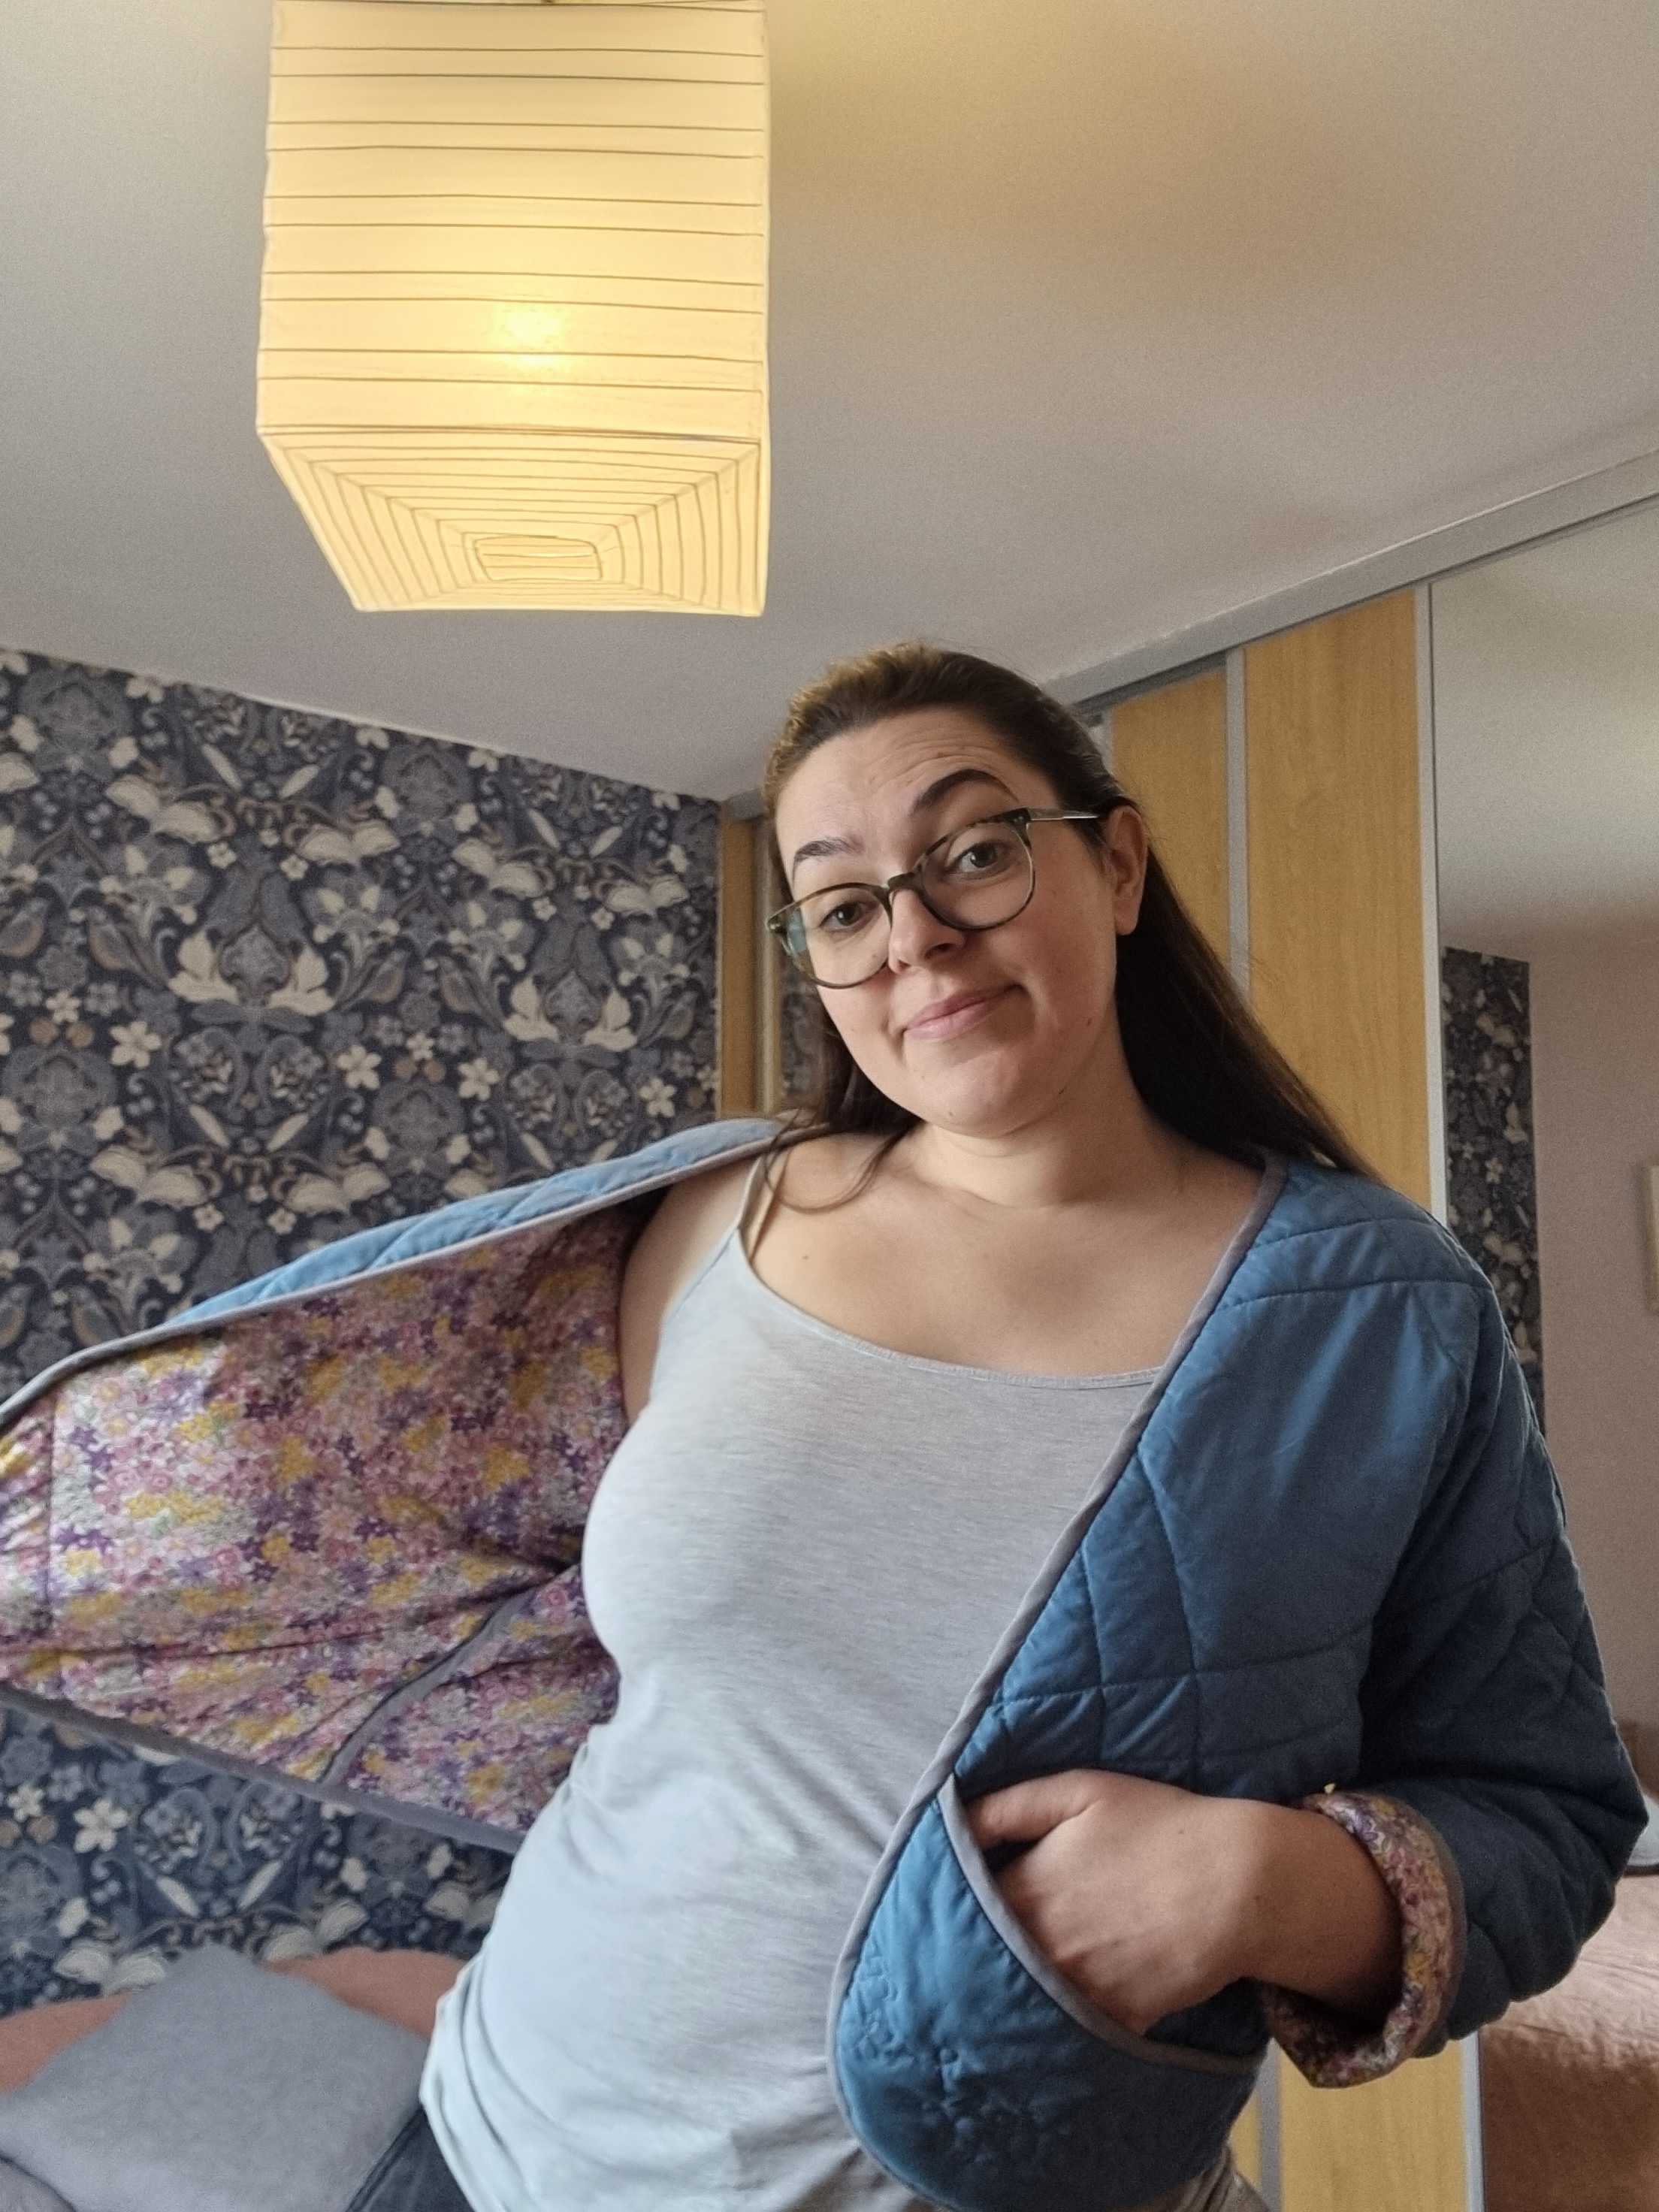
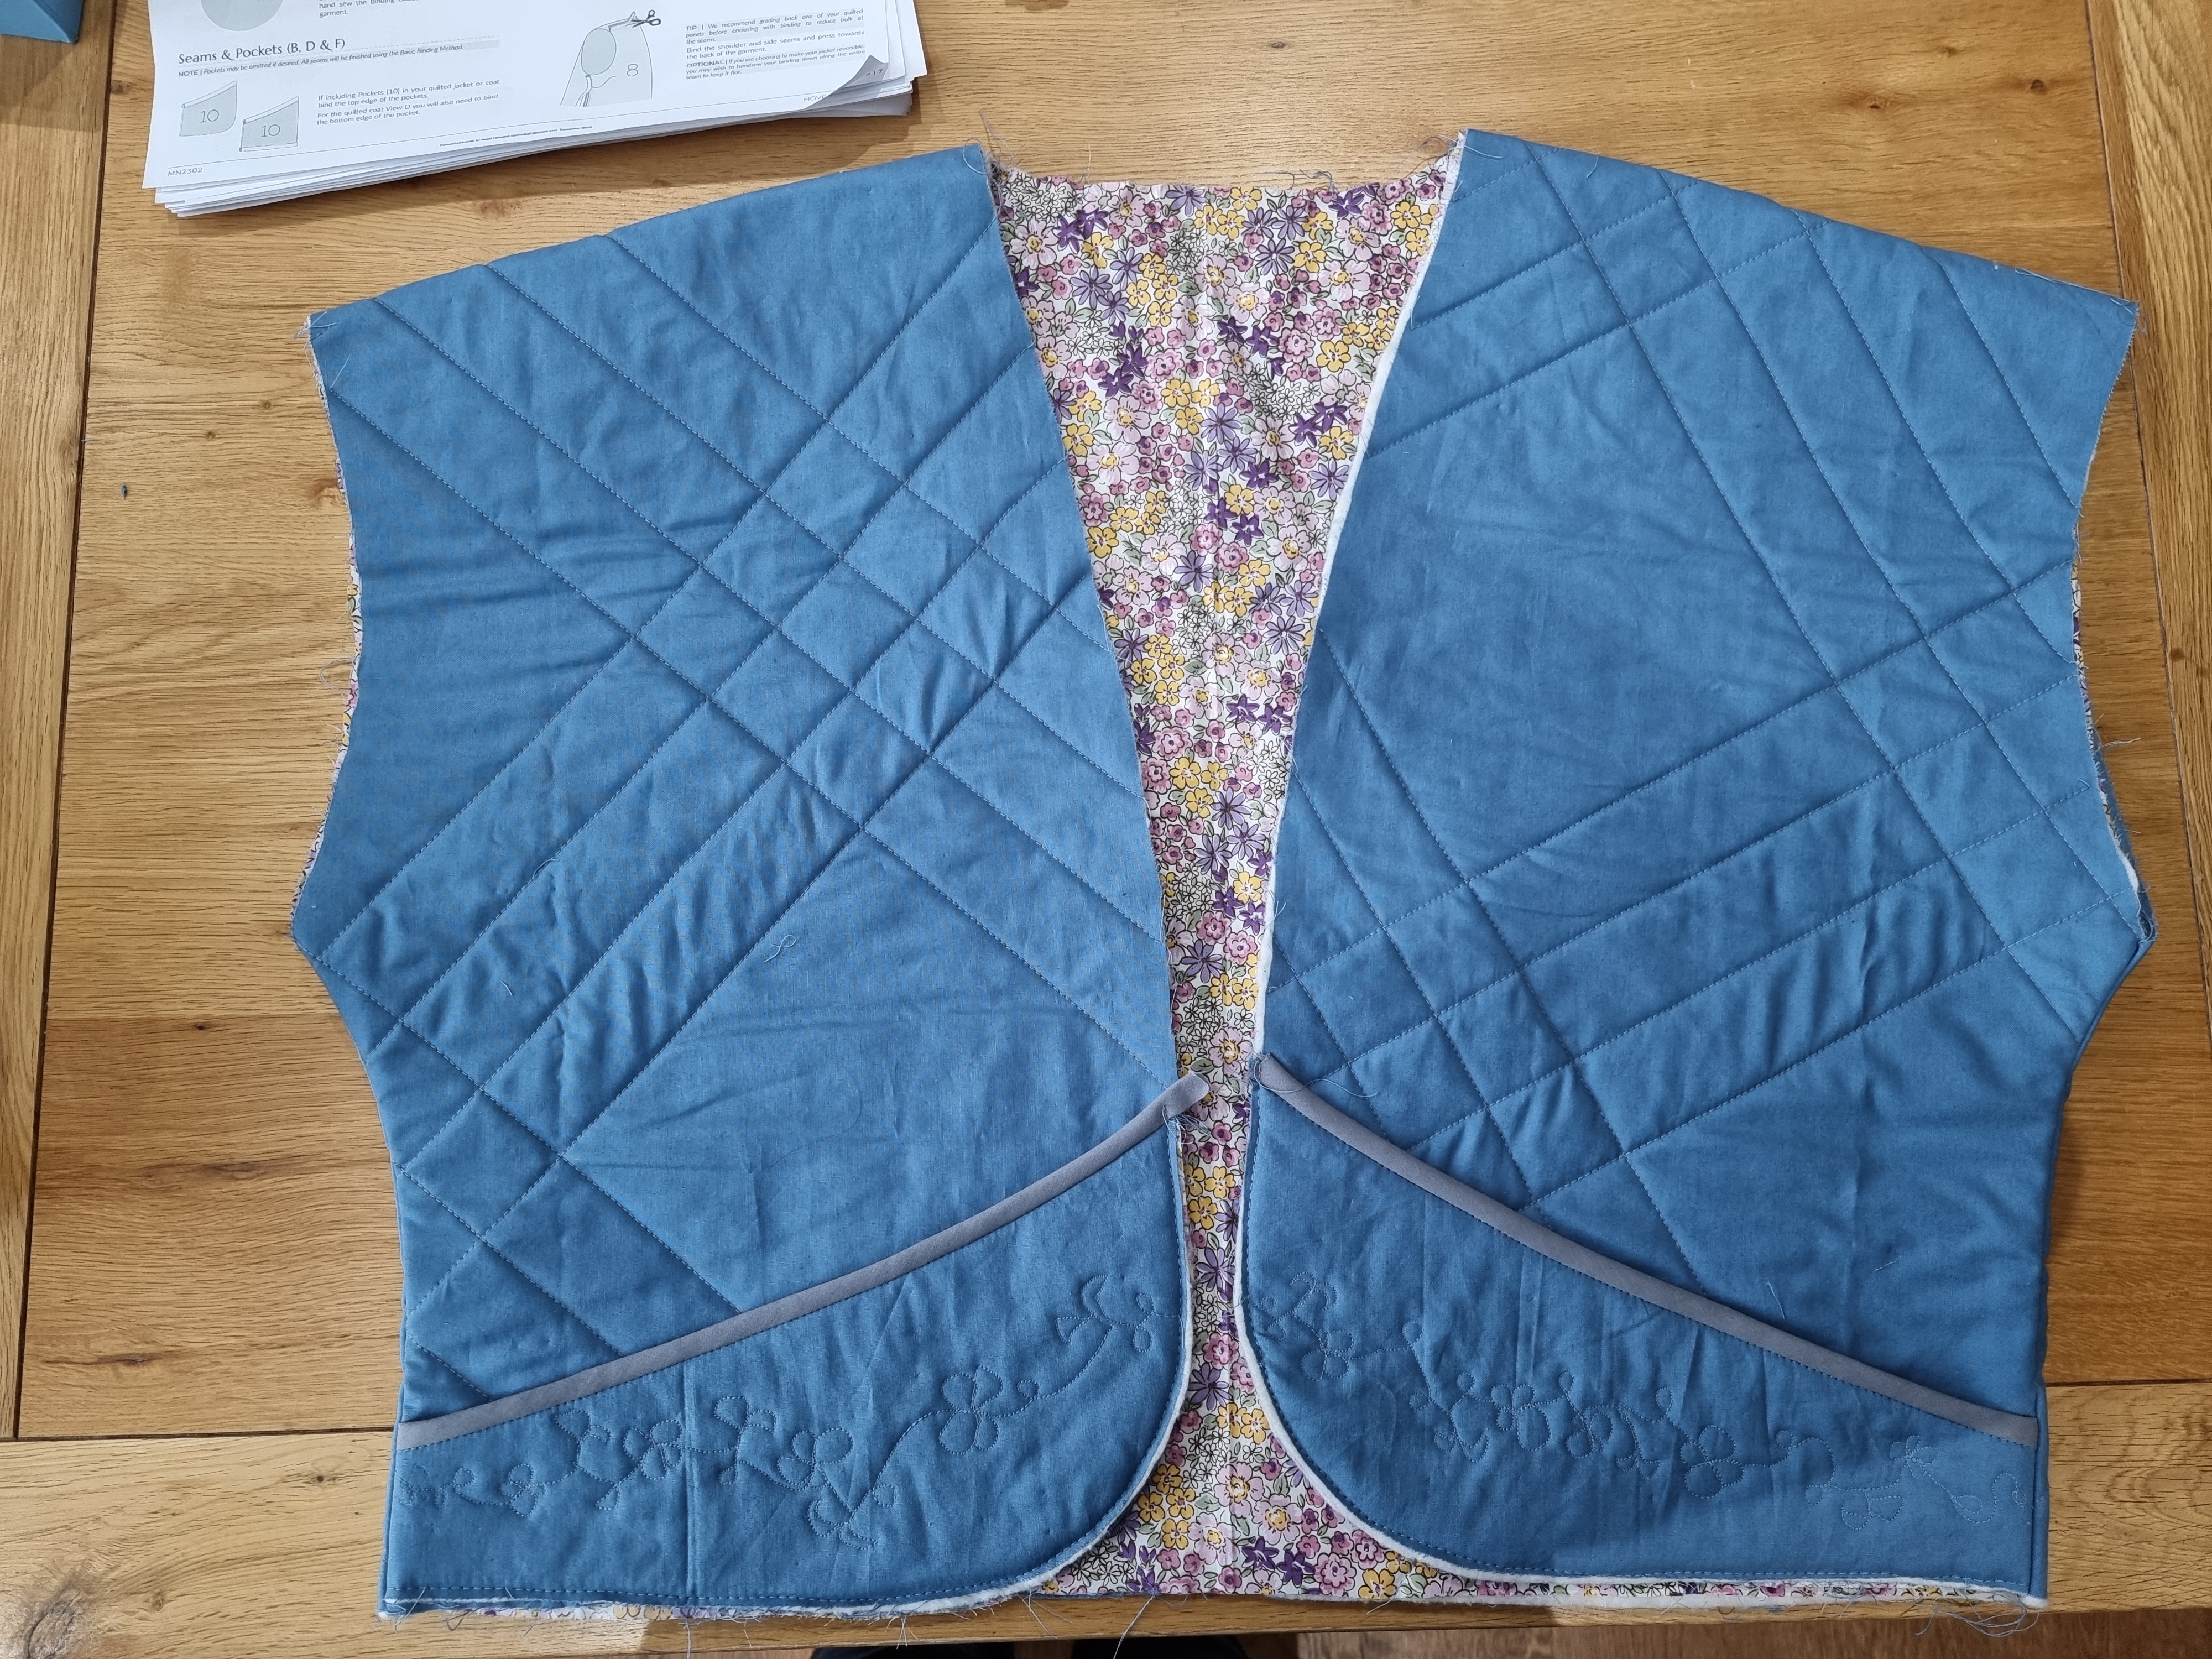
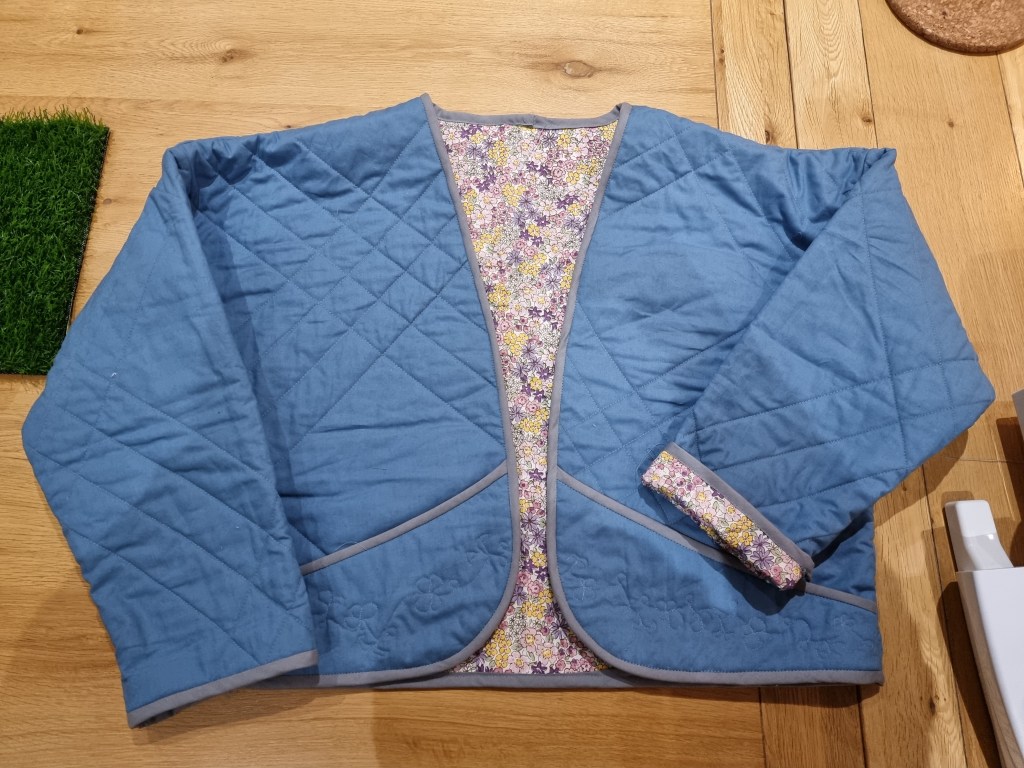
The Hovea has 6 options in the pattern- 3 quilted options and different lengths. I opted for the quilted cropped jacket with no ties.
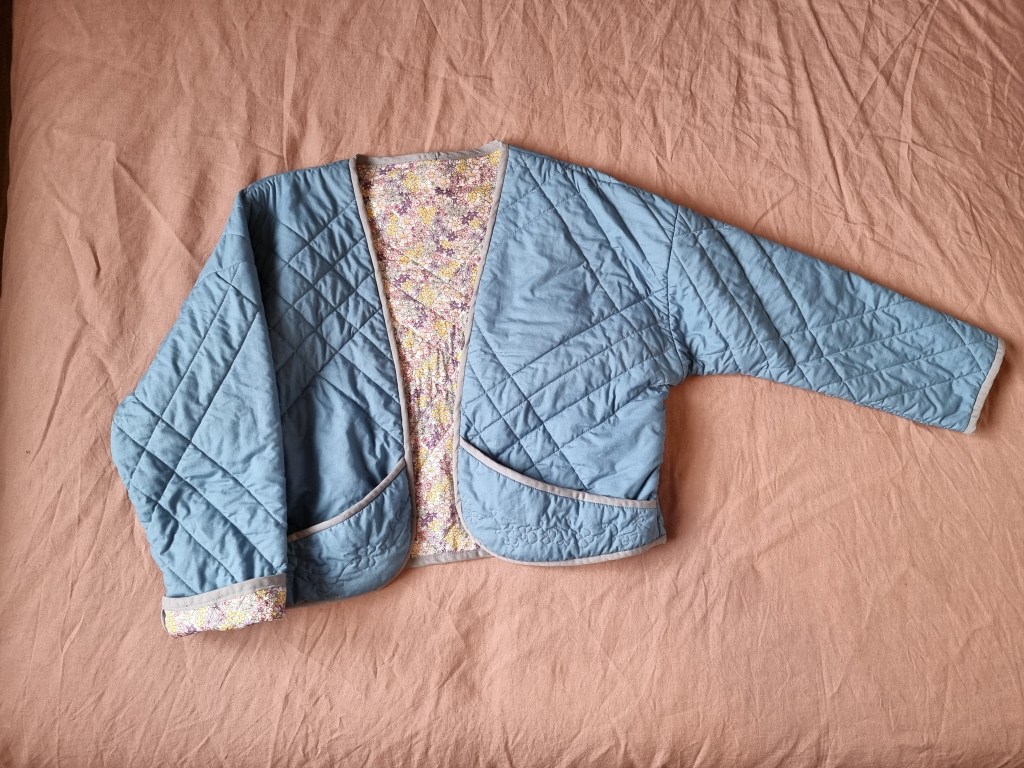
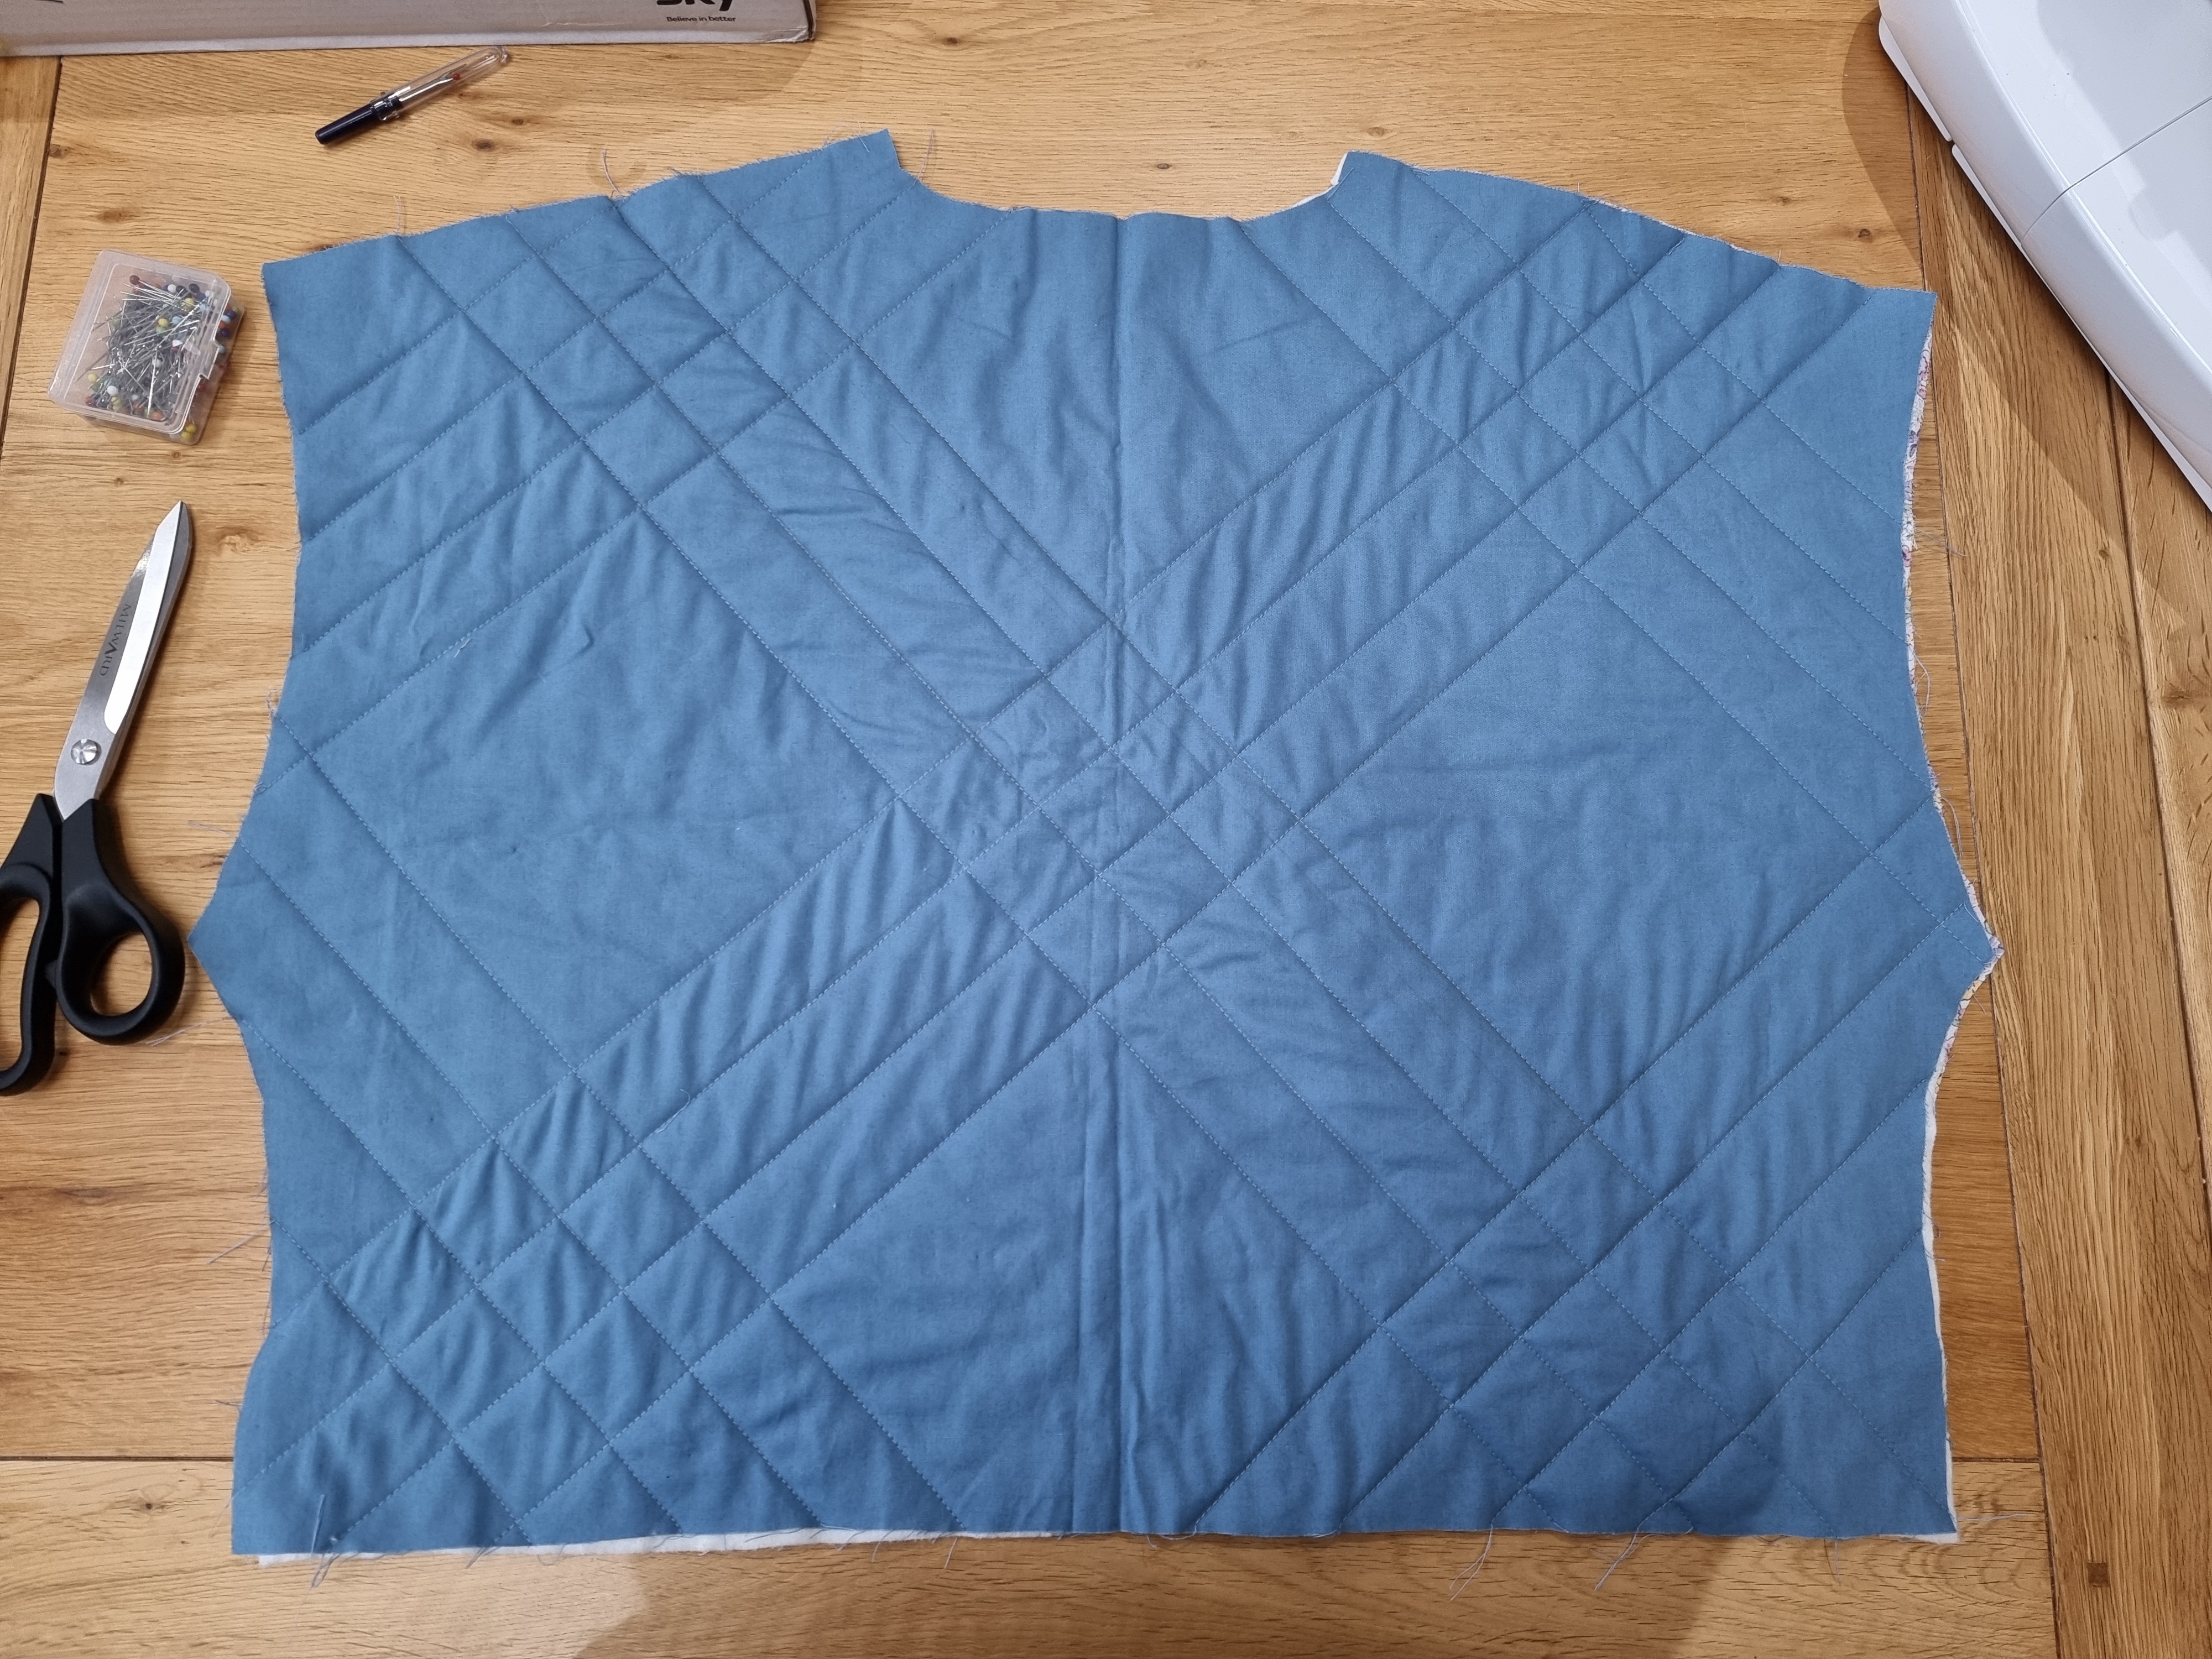
I chose a simple blue cotton for the outer fabric and a floral Liberty print that I inherited from my nan’s fabric stash. Most of the Hovea options have turned up sleeves so you get to see the lining and i liked the idea of using the Liberty for this.
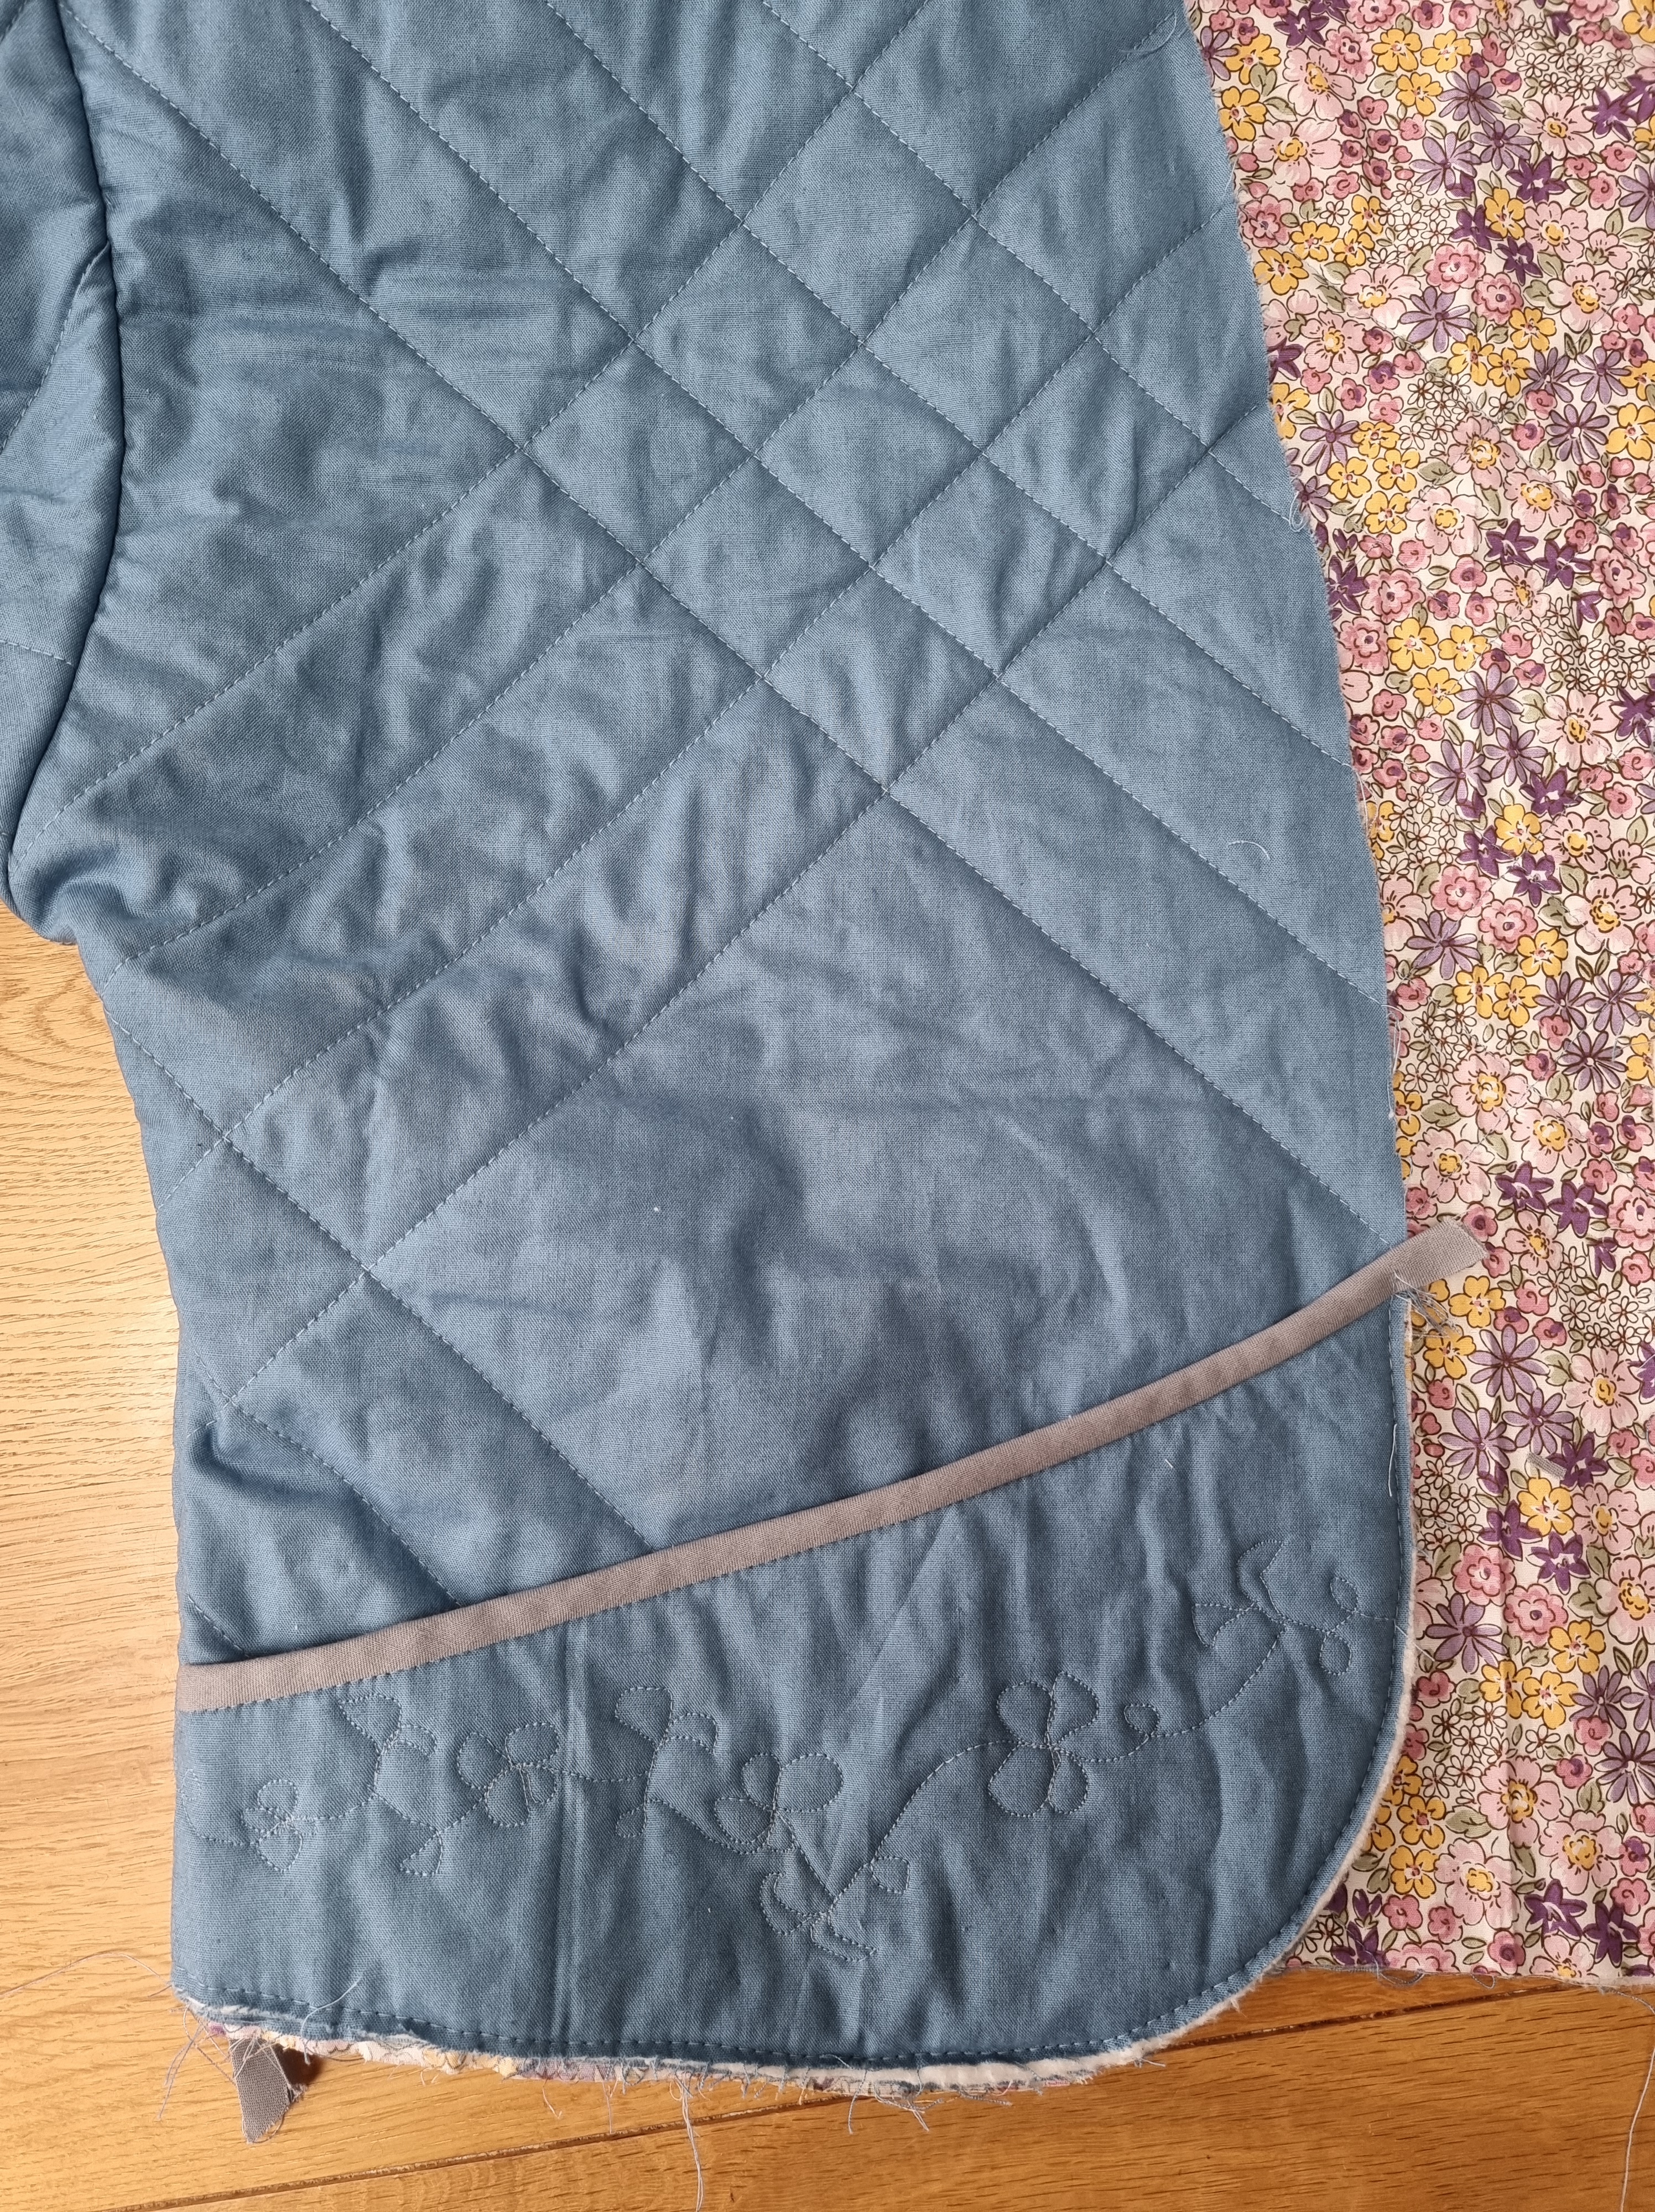
I turned up to the class with all the pieces pre-cut except the wadding and spent most of the first evening trying to work out how to quilt the pieces. I settled on a cross quilted pattern but, once I started to mark it out, it felt a bit busy so i started marking a square space after every third bar. It resulted in a tartan/check type pattern which I liked and repeated on the back and sleeves.

I was quite keen to incorporate some free motion quilting on the pockets but did this at home so i could play about with some scrap fabric before doing it for real on my jacket pieces.
I did some more of the quilting and bias binding prep at home in between the weekly classes so i could keep up and make the most of having a tutor to hand with any questions.
I’ve been to two Sew Confident classes in the past – one for the Range Rucksack and the other for a free hand machine embroidery doodles class. Both times I found that I spent a fair amount of time faffing setting up machines and troubleshooting while I got used to a different machine from home. But I do also consider myself as a beginner so each time I arrive, set up gets quicker and I feel more confident.
The Sew Confident classes are great- a nice cosy set up with 5-6 people in each class and a tutor to hand.
Our tutor was Norma, who was a very experienced quilter and all round sewer. It was great to have her input on quilting fabric choices as well as some other handy hints and tips!
I’d never inserted sleeves before and she pointed out that, because of the design of the jacket, she’d sew the sleeve whilst the rest of the jacket was laid out flat. This then meant that I could sew straight up the underarm and sleeve in one and the binding would be a lot neater! It also reduced the chances of getting any puckers in the sleeve. I had already stitched up the sides, following the Hovea instructions but, after listening to her advice unpicked and inserted the sleeve flat. I’m so glad I did as it’s a much better finish!
It was really interesting to see the other sewers fabric choices- there was a real mix from double gauze, bright bold prints for the lining and a lady who combined 2 African wax prints for a reversable finish.
It was also good to see the quilting options we all chose from blocks, horizontal lines, freemotion squiggles to a gorgeous leaf detail on pockets. Although it does tempt you to come away with ideas foranother 5 other variations!
As well as finishing my first wearable garment, i got to try lots of new techniques- using a walking foot, machine quilting, making and using bias binding (with a stitch in the ditch finish) and got to practice some free motion quilting).
The Hovea jackets are meant to be oversized and I was a bit worried once I’d started to sew that I should’ve downsized but I’m happy with the fit- it’ll be shoved on in summer for a nice loose fit or worn in autumn/winter over a light jumper. If I was to change anything, it would be to make the sleeves slightly longer so I can turn up and show off the lining without feeling like I’ve lost too much of the length. I’m really chuffed with my finished jacket and think it’ll be worn well!